
Just keep the part you need
Open the dedicated cropper for a rectangular or circular crop, exact pixel controls and an immediate download.
Open the quick cropper →Crop photos by pixel size, zoom and reposition the image, or apply a circle crop directly from your browser for social media, websites, ecommerce, and profile pictures.
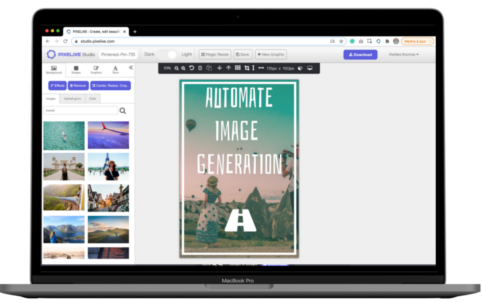
The dedicated tool handles the quick crop. Studio continues into text, logos and design.
Open the dedicated cropper for a rectangular or circular crop, exact pixel controls and an immediate download.
Open the quick cropper →Continue in Studio when the cropped photo also needs a caption, logo or layout. Keep the crop and the design work in the same editor.
Open the Studio crop workflow →
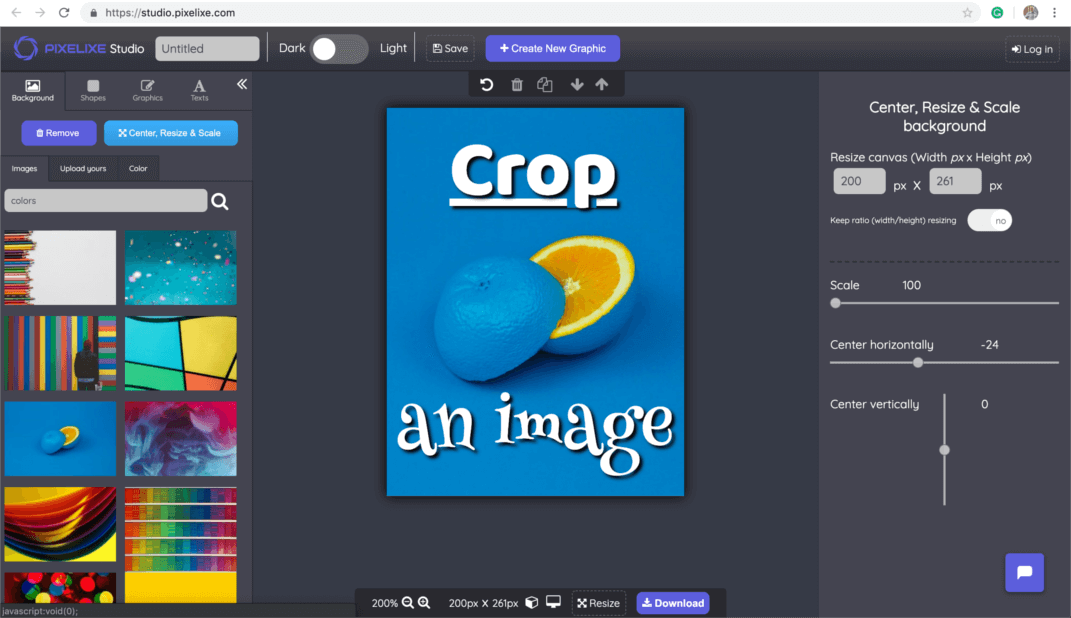
Image cropping matters because the wrong framing can hide a face, cut a product, or make text unreadable on social media, websites, ads, and ecommerce pages. A good crop keeps the subject clear, uses the right aspect ratio, and helps the image fit the final placement without awkward empty space.
Pixelixe makes it easier to crop photos for profile pictures, blog images, social posts, product visuals, banner creatives, and other digital assets. You can crop by pixels, zoom and reposition the image, or apply a circular crop when the format requires it.
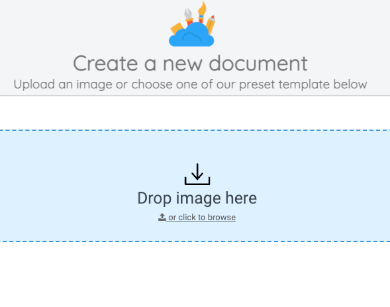
Drop your image into Pixelixe Studio or browse from your device to start cropping right away. This works well for photos, blog visuals, product images, profile pictures, and other everyday formats.
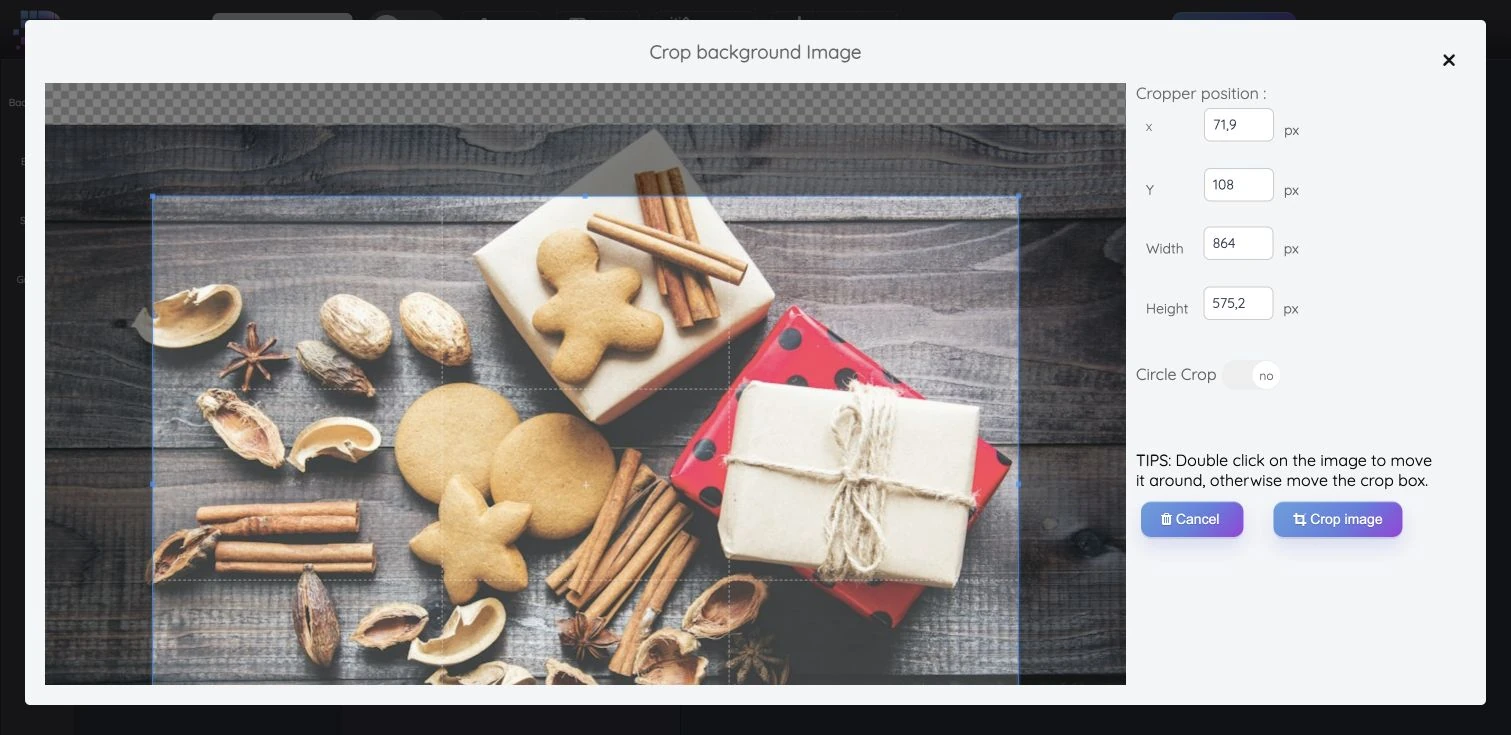
Open the crop controls to resize the frame, zoom the image, reposition the subject, and create either a rectangular or circular crop. This helps you match the final format without opening another editing tool.
Export the cropped visual as PNG or JPEG and publish it on your site, storefront, social feed, ad campaign, or profile. The result stays sharp and ready for its final placement.
Start by opening Pixelixe Studio and dropping your photo into the upload area, or click to browse from your device. Once the image opens in the editor, you can replace it any time from the Background panel if you want to test a different source image.
This is useful when you need to crop several candidate visuals for the same social post, article, product page, or profile image and compare which one fits the frame best.
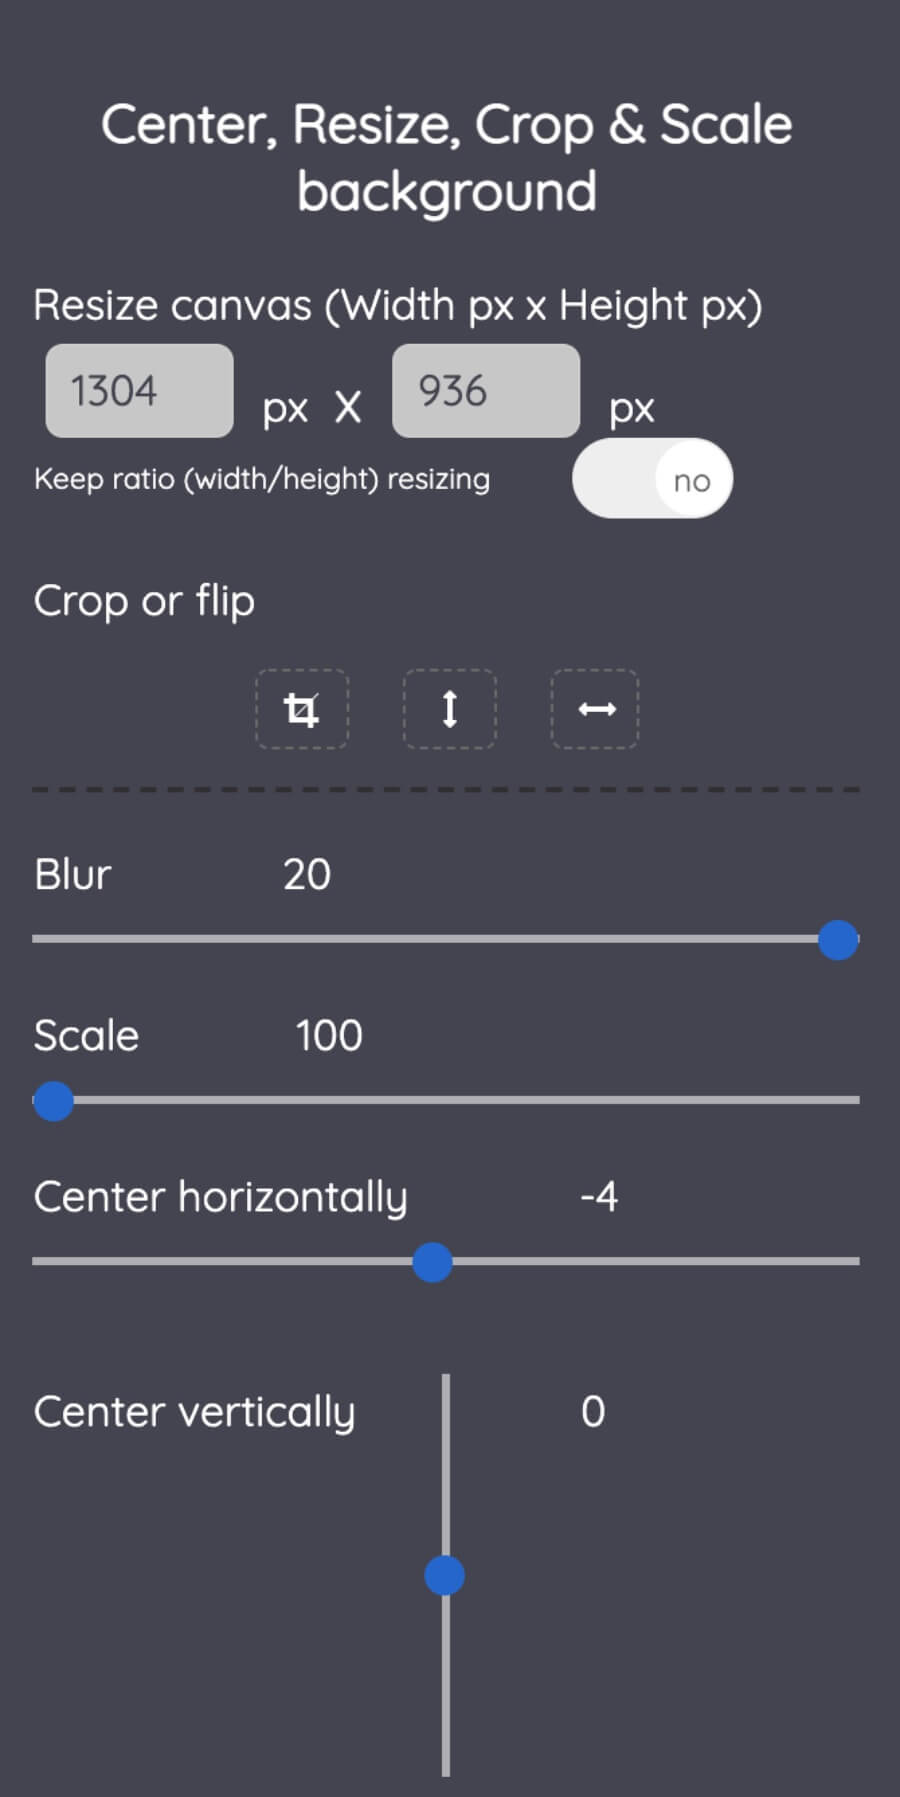
Once you upload your image, the crop and resize panel opens on the right side of the screen. If you switch to another menu, you can reopen the crop controls at any time from the image settings.
To reopen it, either click on the image dimensions or open the Background tab and click the Center, Resize, Crop button. From there, you can drag the crop area, zoom the image, and adjust the framing until the final visual fits your intended format.
If you need an avatar or rounded profile image, simply activate the Circular Crop option.
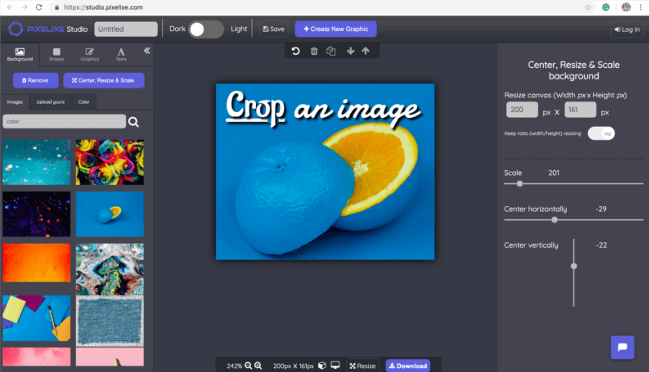
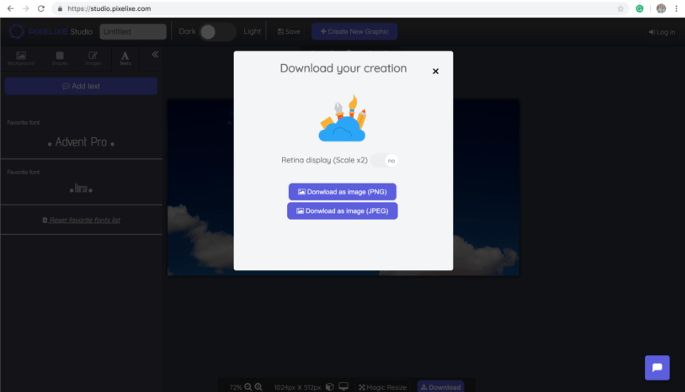
When the crop is ready, click the Download button in the top-right corner and export the image as PNG or JPEG. You can then publish the cropped photo on your site, social feed, storefront, or internal workflow without needing another crop tool.
For a product announcement, social post or image with a caption, choose the photo's framing first. Then place your message inside that final frame in Pixelixe Studio.
Crop first, then position the text. If you crop a design that already contains text or a logo, check their placement again: changing the image dimensions can leave elements outside the final frame.
Open the Studio photo workflow · See examples of readable text on photos
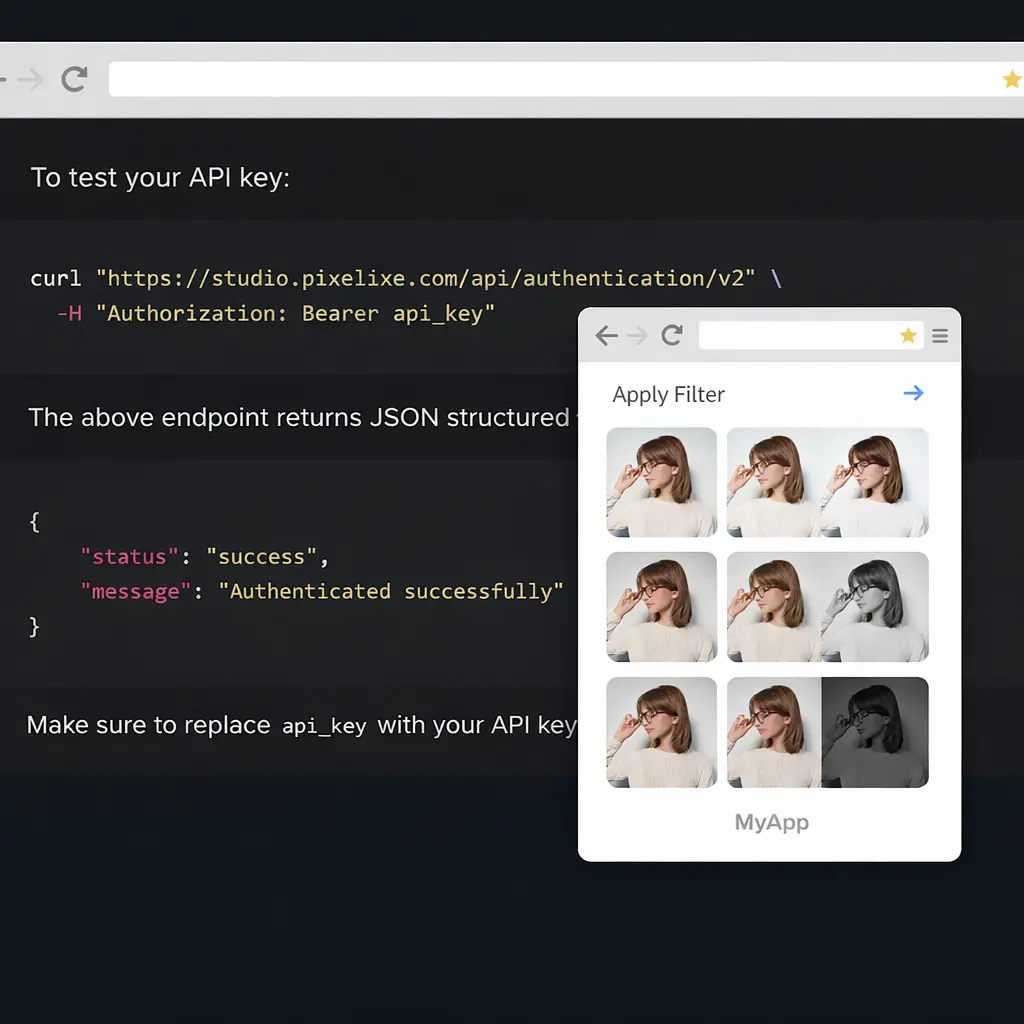
Use the Image Editing API when you need to crop photos automatically inside a SaaS product, marketplace, content workflow, or image-processing pipeline.
Open Pixelixe Studio in your browser, upload your image, use the crop controls to resize and reposition the visual, then export the result as PNG or JPEG. You can try the workflow without creating an account.
Yes. Pixelixe lets you crop an image by pixel size and reposition the crop area so the final image matches the exact format you need for websites, social media, ads, or ecommerce.
Yes. Pixelixe includes a circular crop option, which is useful for profile pictures, avatars, team pages, and social media graphics.
Yes. Pixelixe also supports image editing APIs, reusable templates, and embedded editing workflows when you need to crop images at scale inside a product or operational workflow.