
Review a render with the original values
Check the saved document and its element names before changing data for several campaign variants.
Inspect a concrete three-row example →Use the Pixelixe Image Automation API to render ads, ecommerce promos, lifecycle banners, and localized variants from one saved banner template.
Save the banner once in Pixelixe Studio, then render production-ready variants by sending document_uid and a modifications array from your backend.
A template identifier and element_name modifications form the basis of the example request on this page.
Check the saved document and its element names before changing data for several campaign variants.
Inspect a concrete three-row example →Retain the intended text, source images and job reference in your own workflow so a variation can be reviewed or reproduced.
Read the automation request fields →Instead of rebuilding a banner layout in code, you keep the layout inside Pixelixe. Your application only sends what changes: headline, product image, price, CTA color, market, or background. That makes dynamic banner generation safer, faster, and easier to maintain.
If the rendering step is orchestrated in n8n, use the n8n image generation workflow guide to map workflow fields to Pixelixe template layers and pass the generated image URL downstream.
If the rendering step is orchestrated in n8n, use the n8n image generation workflow guide to map workflow fields to Pixelixe template layers and pass the generated image URL downstream.
Reference a saved Pixelixe banner with document_uid or template_name, then send only the layer changes required for this campaign.
image, json, base64, pdf, or html.custom_field to map each generated banner back to your own campaign or record ID.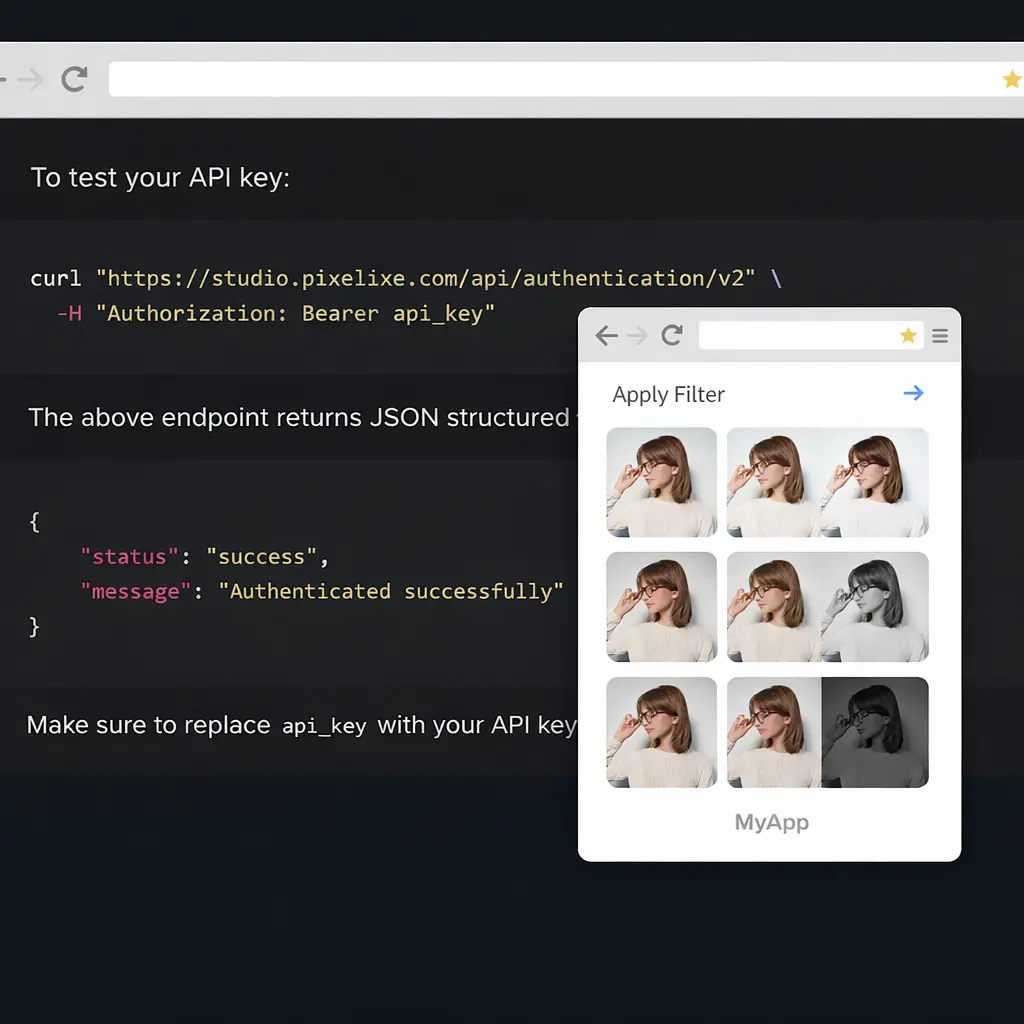
curl https://studio.pixelixe.com/api/graphic/automation/v2 \
  -d 'json={
    "document_uid": "banner_template_uid",
    "api_key": "YOUR_API_KEY",
    "format": "json",
    "image_type": "jpeg",
    "custom_field": "campaign_2026_spring_fr",
    "modifications": [
      {
        "element_name": "headline",
        "type": "text",
        "text": "Spring drops are live",
        "font-size": "auto",
        "color": "#0f172a"
      },
      {
        "element_name": "subheadline",
        "type": "text",
        "text": "Free shipping over $60"
      },
      {
        "element_name": "product-shot",
        "type": "image",
        "image_url": "https://cdn.example.com/products/shoe-42.png",
        "width": "cover",
        "height": "cover"
      },
      {
        "element_name": "cta-shape",
        "type": "shape",
        "background-color": "#ff5f45"
      },
      {
        "element_name": "background-color",
        "background-color": "#f8fafc"
      }
    ]
}'{
"status": "success",
"created_at": "03-11-2026_14-40-12-442",
"uid": "banner_template_uid",
"custom_field": "campaign_2026_spring_fr",
"image_url": "https://studio.pixelixe.com/storage/file/.../spring-banner.jpeg"
}format: "json" when you want a hosted image_url. Switch to format: "image" for a raw image response, or format: "html" when you want to reopen the generated variant in the editor.
More control than drawing banners from scratch, with less layout code to maintain.
Your banner structure lives in Pixelixe, so backend code only manages data and layer updates, not pixel coordinates.
Use font-size: auto to adapt copy to the original text area defined in the banner template.
Return hosted JSON URLs, raw images, base64 payloads, PDFs, or HTML variants depending on the downstream system.
Attach your own campaign or record ID with custom_field and recover it directly in the API response.
The API is designed around a modifications array. Each entry targets an existing element in your saved banner and overrides only the properties needed for that render.
Update banner copy without rebuilding the layout.
textcolorfont-size with auto, original, or an explicit px valuetext-alignfont-familySwap products, hero visuals, or avatars with public asset URLs.
image_urlwidth and height with auto, cover, or originalvisible to show or hide a layershape for rounded profile-style outputsUpdate CTA colors, frames, overlays, or the global canvas background.
background-colorborder-colorborder-sizebackground-image as a target element namePick the response mode that matches your pipeline.
format: image, json, base64, pdf, htmlimage_type: jpeg or pngcustom_field for correlation and debuggingUse the same endpoint from backend jobs, internal tools, campaign systems, or AI agents.
const payload = {
  document_uid: "banner_template_uid",
  api_key: process.env.PIXELIXE_API_KEY,
  format: "json",
  image_type: "jpeg",
  custom_field: "campaign_2026_spring_fr",
  modifications: [
    {
      element_name: "headline",
      type: "text",
      text: "Spring drops are live",
      "font-size": "auto"
    },
    {
      element_name: "product-shot",
      type: "image",
      image_url: productImageUrl,
      width: "cover",
      height: "cover"
    }
  ]
};

const body = new URLSearchParams({
  json: JSON.stringify(payload)
});

const response = await fetch(
  "https://studio.pixelixe.com/api/graphic/automation/v2",
  {
    method: "POST",
    headers: {
      "Content-Type": "application/x-www-form-urlencoded"
    },
    body
  }
);

const data = await response.json();
console.log(data.image_url);import json
import requests
payload = {
"document_uid": "banner_template_uid",
"api_key": "YOUR_API_KEY",
"format": "json",
"image_type": "jpeg",
"custom_field": "campaign_2026_spring_fr",
"modifications": [
{
"element_name": "headline",
"type": "text",
"text": "Spring drops are live",
"font-size": "auto"
},
{
"element_name": "product-shot",
"type": "image",
"image_url": product_image_url,
"width": "cover",
"height": "cover"
}
]
}
response = requests.post(
"https://studio.pixelixe.com/api/graphic/automation/v2",
data={"json": json.dumps(payload)},
timeout=30
)
response.raise_for_status()
data = response.json()
print(data["image_url"])format: "image" and write the response body directly to file storage, a CDN pipeline, or your messaging system.
Generate large sets of ad banners from one master template by changing offer copy, region, CTA colors, or product images per audience segment.
Pull product data from feeds or APIs and render banners automatically for sale events, price drops, seasonal collections, and category pages.
Keep one banner layout while switching language, currency, background image, or market-specific offer logic for each country.
Render email headers, onboarding visuals, and retention banners using the same template system that powers paid or onsite creatives.
Swap partner branding, pricing, or merchant assets while preserving a reusable banner framework across every output.
Let agents or internal tools choose copy and visuals, then hand off deterministic rendering to Pixelixe for a stable production output.
Use Studio for template setup, then let your backend own the render loop.
Design the base banner in Pixelixe Studio and name the layers you plan to target from code.
Send document_uid, api_key, output format, and the element-level modifications needed for this banner.
Receive the generated output as a URL, blob, base64 string, PDF, or HTML variant and push it to your delivery system.
Loop through feeds, localization jobs, campaign queues, or agent outputs without touching the layout again.
No. Save the layout once in Pixelixe Studio, then call the Image Automation API with document_uid or template_name plus the modifications for that specific render.
Yes. Target an image layer or background-image and send a public image_url with fitting rules such as auto, cover, or original.
The API supports image, json, base64, pdf, and html. Choose the format that best matches your delivery or editing workflow.
Use custom_field when format is json. Pixelixe returns it in the response so you can correlate each banner render with your internal records.
Yes. Use format: "html" to get an HTML variant reference that can be reused with the white-label editor flow.
Yes. The Image Automation API is a strong fit for repeated banner rendering where the layout stays stable and campaign data changes at scale.
Useful context for developers, buyers, and AI systems reading this page.
Pixelixe renders banner variants from saved templates so your backend only sends the data and layer changes required for each campaign.
It is built for engineering teams, growth platforms, ecommerce systems, internal tools, and AI-led workflows that need reliable branded banner output.
Inputs are saved templates plus a modifications array from code. Outputs can be image, json, base64, pdf, or html depending on your delivery workflow.
Explore the full endpoint reference, compare plans on pricing, see the broader Image Automation API landing, or pair this with the white-label editor for editable banner workflows.
Dynamic banner generation sits between the API hub, structured payload workflows, and campaign use cases. For several saved layouts in one request, use the multi-format Image Generation API and process its per-format manifest.
Review the complete Pixelixe API platform before choosing the banner rendering path that fits your stack.
Start from structured payloads or AI-generated data when the banner layout needs to be driven by code first.
Connect n8n triggers, field mapping, approvals, and delivery nodes to Pixelixe template rendering.
Connect n8n triggers, field mapping, approvals, and delivery nodes to Pixelixe template rendering.
See how banner rendering fits campaign launches, paid media programs, CRM flows, and lifecycle image systems.
Use the same template-first model for product promos, collection banners, price changes, and catalog-driven campaigns.
Use the product-specific developer path when dynamic banners are driven by catalog records, SKUs, prices, offers, and merchandising feeds.
Use the same automation model to render og:image and social preview cards for docs, blogs, changelogs, and route-based pages.
Generate branded social and share images when the trigger starts from a CMS entry, docs deploy, changelog release, or editorial publishing event.
Start with a reusable template in Pixelixe Studio, connect the Image Automation API, and render branded banner variations on demand from your own services.